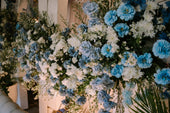
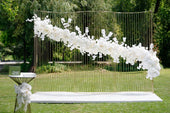
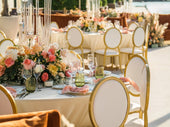
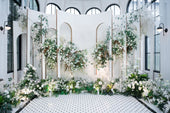
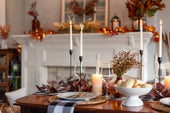
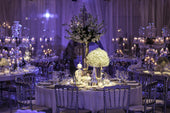
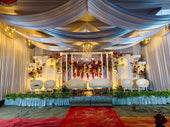
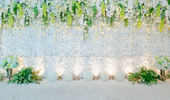
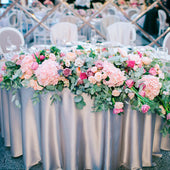
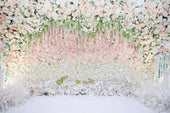
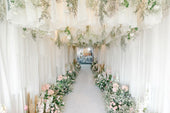
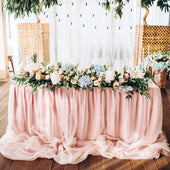
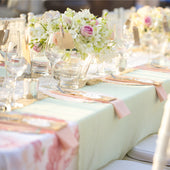
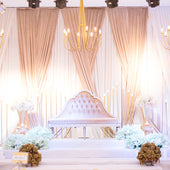
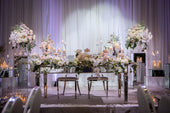
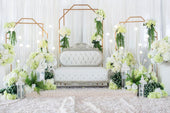
Creating an unforgettable experience in an event would include, amongst other things, using a highlight on a particular area at the venue of the event. Whether the occasion is personal, informal, professional, or formal, you can afford to create a notable and vibrant decor that the guests will always remember with the use of a flower wall backdrop.

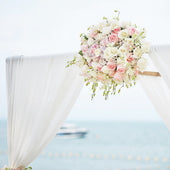
Flower walls add an evading capture to your event: the creation of something beautiful that is rarely seen. A flower wall is an ideal floral arrangement that can be extensively customized based on a preferable aesthetic, color scheme, and the type of flower that is being used. Flower walls are major attention grabbers that stand freely at any event without occupying too much floor space. They could be placed at the entrance or stage of the event. At weddings, they could either be placed at the reception behind the bridal table or as a backdrop for taking of vows.
For personal events, a flower wall can be utilized as a backdrop for taking selfies and/or traditional photos that capture the best moments. Professionally, it serves as a means to promote your brand since guests are encouraged to take advantage and use your background to take photos they would most likely post on social media.


Unfortunately, even though they create a huge impact, flower walls are mostly highly-priced, and some people are sometimes tempted to leave this part out of their events. Not anymore!
Are you looking out for an eye-catching flower wall or floral backdrop, but you are unprepared to spend a lot of money? In this article, you'll be learning about several ways you could easily create a flower wall without breaking the bank.
Method One: Customize your floral mats/tiles

The process of creating a floral backdrop is capable of not only eating into your pocket but could also consume so much of your time. For this reason, the easiest way to go about this is to buy a floral tile or mat. With these, you do not have to spend long hours assembling floral heads onto foam boards or plastic panels.

The downside of using this method is the limitation of color sections. However, if you want to incorporate an interesting pop of color, you can use the floral tiles or mats as a base, then add your preferred flowers onto the backdrop by fixing your flowers at specific points to create a design.
Method Two: Purchase floral panels and create your arrangement from scratch
While floral tiles/mats may have a good arrangement and quality, they are most times limited to light and neutral colors, as implied in the method above. Notwithstanding, there are ways around this. To completely exceed color limitations, you can create your flower wall from scratch using only plastic panels and flower heads. Note that this would be a more time-consuming process than the tip in the first method.

Ensure that the stem of your floral heads has holes in them. This is to enable you to attach them to the plastic grids easily. Otherwise, you might have to glue the floral heads to the grid if holes are absent.


Although this option can be tedious, it results in a much more personal touch.
Materials
As mentioned earlier, you can create your flower wall backdrop with just plastic panels and flower heads. However, you might require a few other things, especially if you want to make it foldable and reusable.
Specific materials and tools include;
- Two sheets of plywood(80" × 40")
- Four boxwood panels(40" × 40")
- Inch screws (½" to ¾")
- Pre-made swags or loose flowers
- Door hinges (3 to 5 inches)
- Scissors
- Staple gun
- Floral snips
- Power drill

After collecting all you would need for this project, follow through the steps below to fully customize your flower wall.
1. Lay both sheets of plywood side by side and have them aligned properly by ensuring the long sides are adjacent.
2. Place hinges in the middle. One should be a few inches away from the top and the other inches away from the bottom.
3. Fasten hinges using screws and drills. Afterward, slightly press the boards together like you are closing a book. This would enable you to check if both boards can be folded. If your backdrop can be properly folded, flip it over and ensure the hinges are facing downward and you have the backside of it facing you. Depending on the thickness of your plywood and the length of your screws, you might see the tips of the hinges poking out to the back. Since you'll be having the panel covered, this wouldn't be a problem. However, if the hinges are too protruded, they could cause injuries by accidents, so be sure to have the tips trimmed if you have more than an inch of the hinges sticking out.
4. Unroll your boxwood squares and have them arranged in a way that the back of the structure is covered. Both panels should be accommodated on each board. The panels serve as a disguise by covering the division where the hinges are attached.
5. Fix all the panels to the board by making use of a staple gun. Afterward, stand the structure and ensure that there are no peeling places or sags. In any area where the sheets of boxwood overhang the plywood by more than an inch, make sure you have such spots trimmed carefully with scissors.

6. Now that you have the structure standing perfectly, you can go ahead and add your flowers. You can do this by applying various tactics. Instead of trimming the stems, you can leave them long, so it's easier to fix the flowers into the backing of the boxwood. Although it requires a lot of work to have the flowers pulled out after the event, this tactic is remarkably secure. Alternatively, you can make separate chicken wire structures or garlands full of flowers, then have them wired or stapled to the backdrop. If you're adding your flowers with the latter tactic, make sure the floral components are secured to the wood using a staple gun.
7. To have your flower wall backdrop displayed at any event, have the two-panel structure slightly leaned against the wall. If you want your backdrop to stand alone, you can simply have triangular trusses constructed. These basic structures can be attached to the back of each board at the outer edges using bolts and nuts. Adding trusses would require drilling holes, but this can be easily disguised by the layer of the boxwood.
8. Your flower wall is endlessly customizable, and this means you are not limited to the use of a boxwood covering. To create a variation, you can have the boards painted or add plaster to enhance texture. In cases where you might need a larger stand-alone structure, you can get a three-panel construction that is capable of standing upright while supporting its weight.

The endless variations provided are undoubtedly the best part of using a flower wall backdrop. Through greenery, different colors, and flowers, you can create an imaginable atmosphere. To add sculptural details and texture, you can incorporate succulents and mosses in the floral wall. Interestingly, both fit nicely irrespective of theme. At corporate events, you also have the option of including your logo on the backdrop for extensive brand promotion.
While flower walls present endless benefits, it is understandable that some people would rather opt-out or not consider it due to cost. This is why a list of practical ideas, like the ones above, have been put together with steps to follow so you can achieve this creatively without feeling the weight on your pocket.
Our Products


Silk Flower Wall Backdrop
Boxwood Panels
Oversize Flower Decor
Related Articles
Pin Later


